Wicking Beds
We live in the driest state in the driest country on earth so water is a valuable resource. With this in mind it is easy to see why the efficient use of water in growing fruit, vegetables and flowers is paramount. The home gardener has struggled for years to find ways to conserve and preserve our water supply and a whole range of products have been developed to help, you just have to visit your local hardware store to see that.
Some of these solutions can be okay for the home owner but what about the ever increasing rental market? Well, just because you rent doesn’t mean that you can’t grow a range of plants and also utilise water saving principals.
Here is just one of ways you can grow in your back yard with the minimal amount of maintenance, conserve water and create a transportable garden.
Our Wicking Beds:
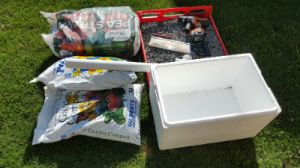
What you will need –
- Container ( The containers we used for these were Styrofoam boxes sourced free from local stores.)
- Gravel or hydroponic clay balls (lighter in weight) – we used washed gravel.
- 50ml polypipe, 90 degree joiner and end cap.
- Sheet of Shadecloth
- Potting mix, Compost and Mulch ( we used pea straw mulch)
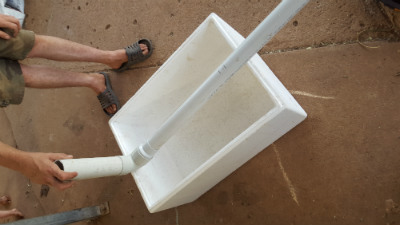
Step 1. – Put a 90 degree bend onto the end of the 50mmpipe and measure the height leaving enough height above the side of the box and mark.
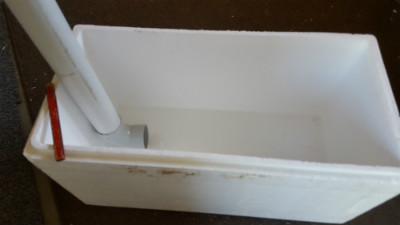
Step 2. – Cut the pipe and place a length of 50mm pipe in the other end of the bend and mark the length.
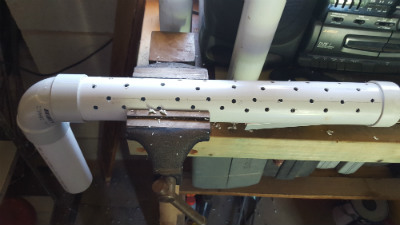
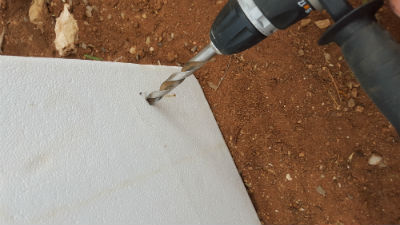
Step 3. – Cut and place the cap on the end of the pipe, mark out and drill holes in the bottom.
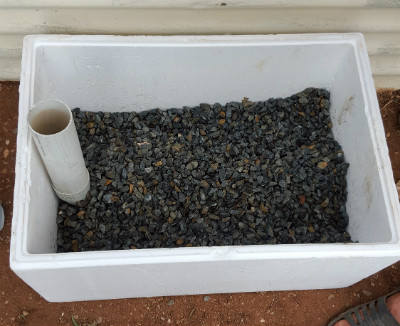
Step 4. – Place pipe in the centre of the box and add gravel or clay balls to cover. Make troughs in the gravel on each side of the pipe to assist the wicking process.
Step 5. – Drill an overflow hole just below the level of the gravel.
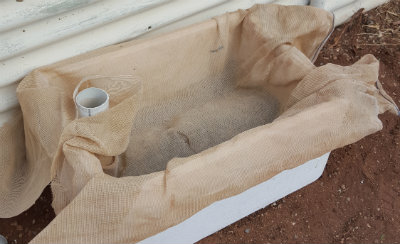
Step 5. – Take the shade cloth and make a sock that fits inside of the box to form a barrier between the gravel and the soil we are about to add. Press into the troughs made each side of the pipe.
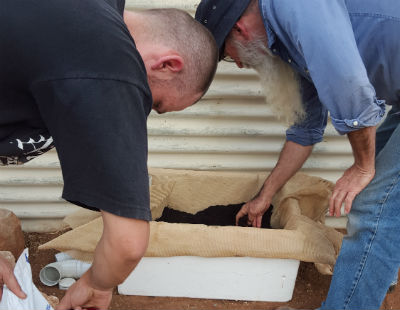
Step 7. – Now add a mixture of potting soil and compost ( or your specialty prepared soil) and fill to approx 4 to 5 cm below the top of the box.
Step 8. – Now its time to plant your selection of plants and start to see the benefit of your hard work so far.
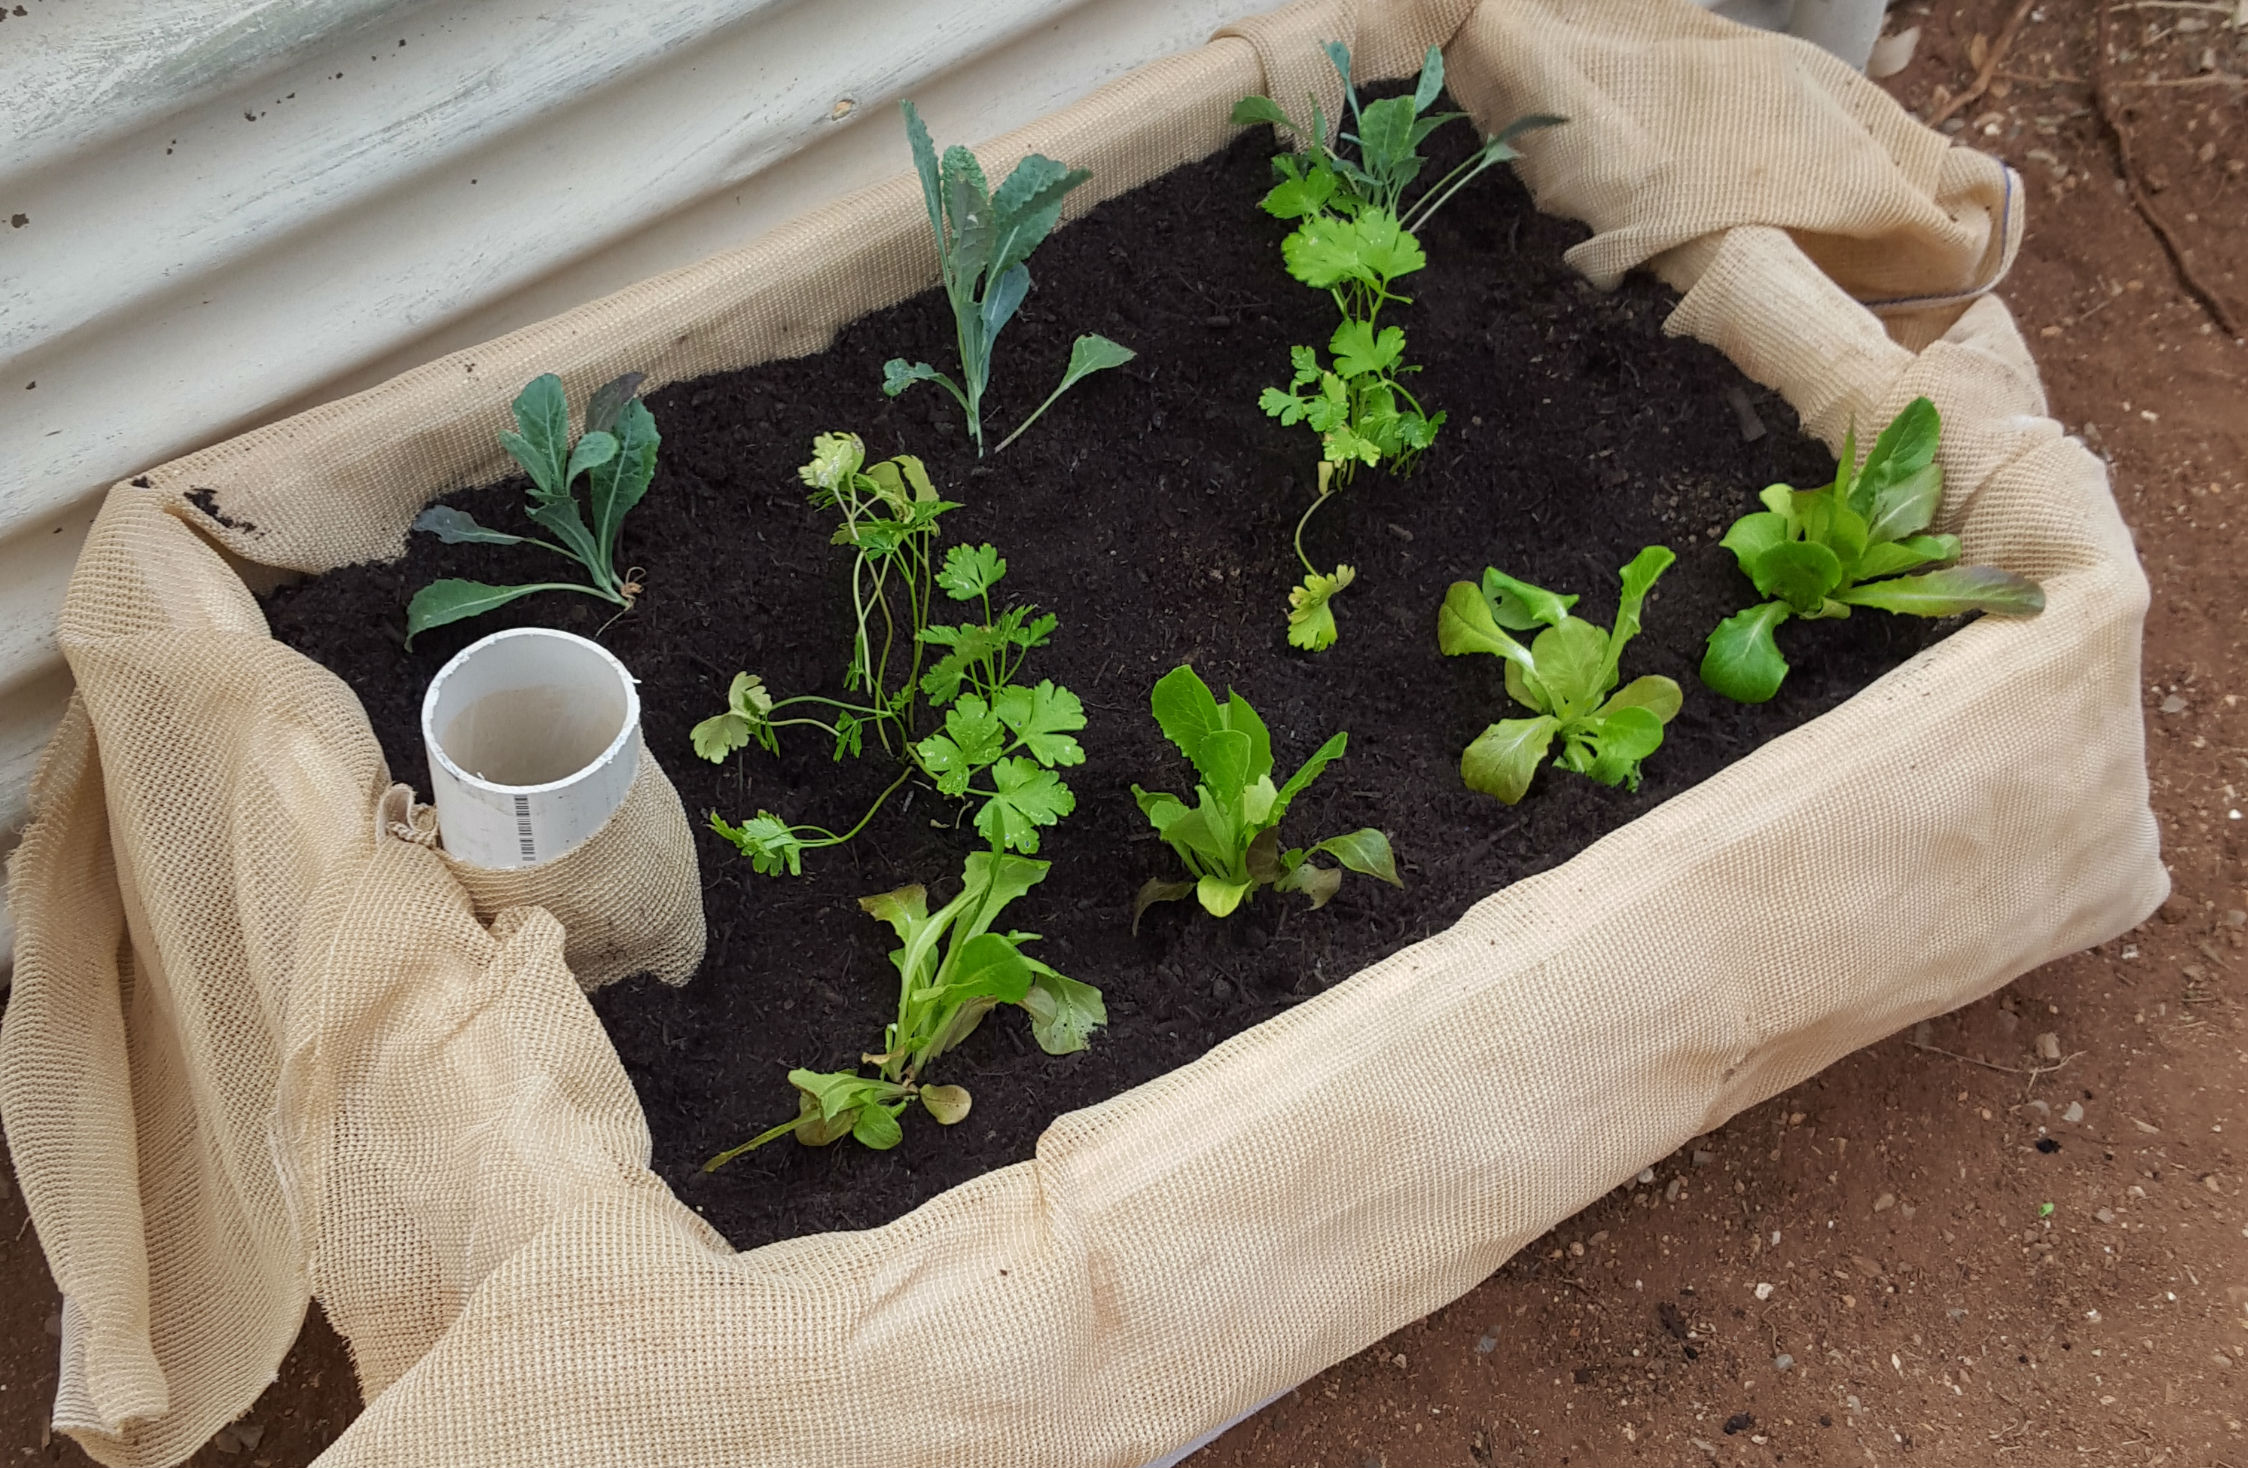
Step 9. – The final step is to add the mulch around the plants and then water in the plants with a watering can ( add a capful of seasol or other organic complete fertilizer and then fill the pipe reservoir until the water runs out of the overflow hose.
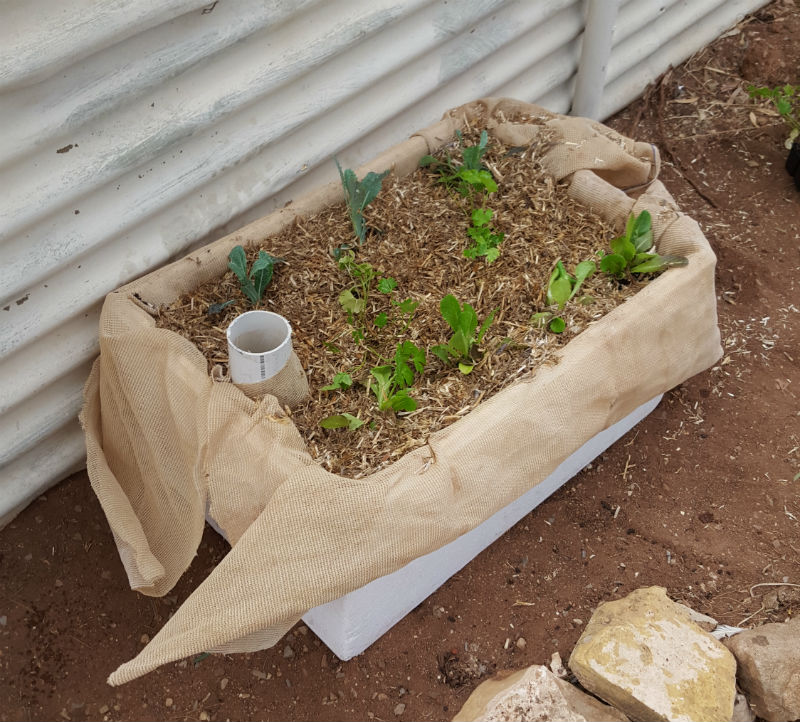
Now you are done and you can sit back and see how long it takes before you need to top up the system again. You can tidy the bed up by trimming the shade-cloth down to the top of the box if you wish, we just left then hanging .
There are a number of different variations to this model and an endless number of other containers that can be recycled/upcycled and used. Great ways to help save the environment, save water and reuse containeres that may well end up in landfill.
Hope you enjoyed reading this post
Phill 🙂
